
Full IDE in the Terminal with Yazi + Neovim — File Trees and Code Navigation
Introduction
In Vol.1, we used cmux pane splitting, the built-in browser, and lazygit to move 80% of our daily development into the terminal.
The remaining 20% is "I want to browse the file tree to understand the project structure" and "I want to jump to a definition" — in other words, IDE features. In this article, we add the file manager Yazi and the editor Neovim (LazyVim) to build a VSCode-equivalent environment using nothing but the terminal.
This article assumes you've completed the introductory article and Vol.1, and that you have a Nerd Font installed.
The End State
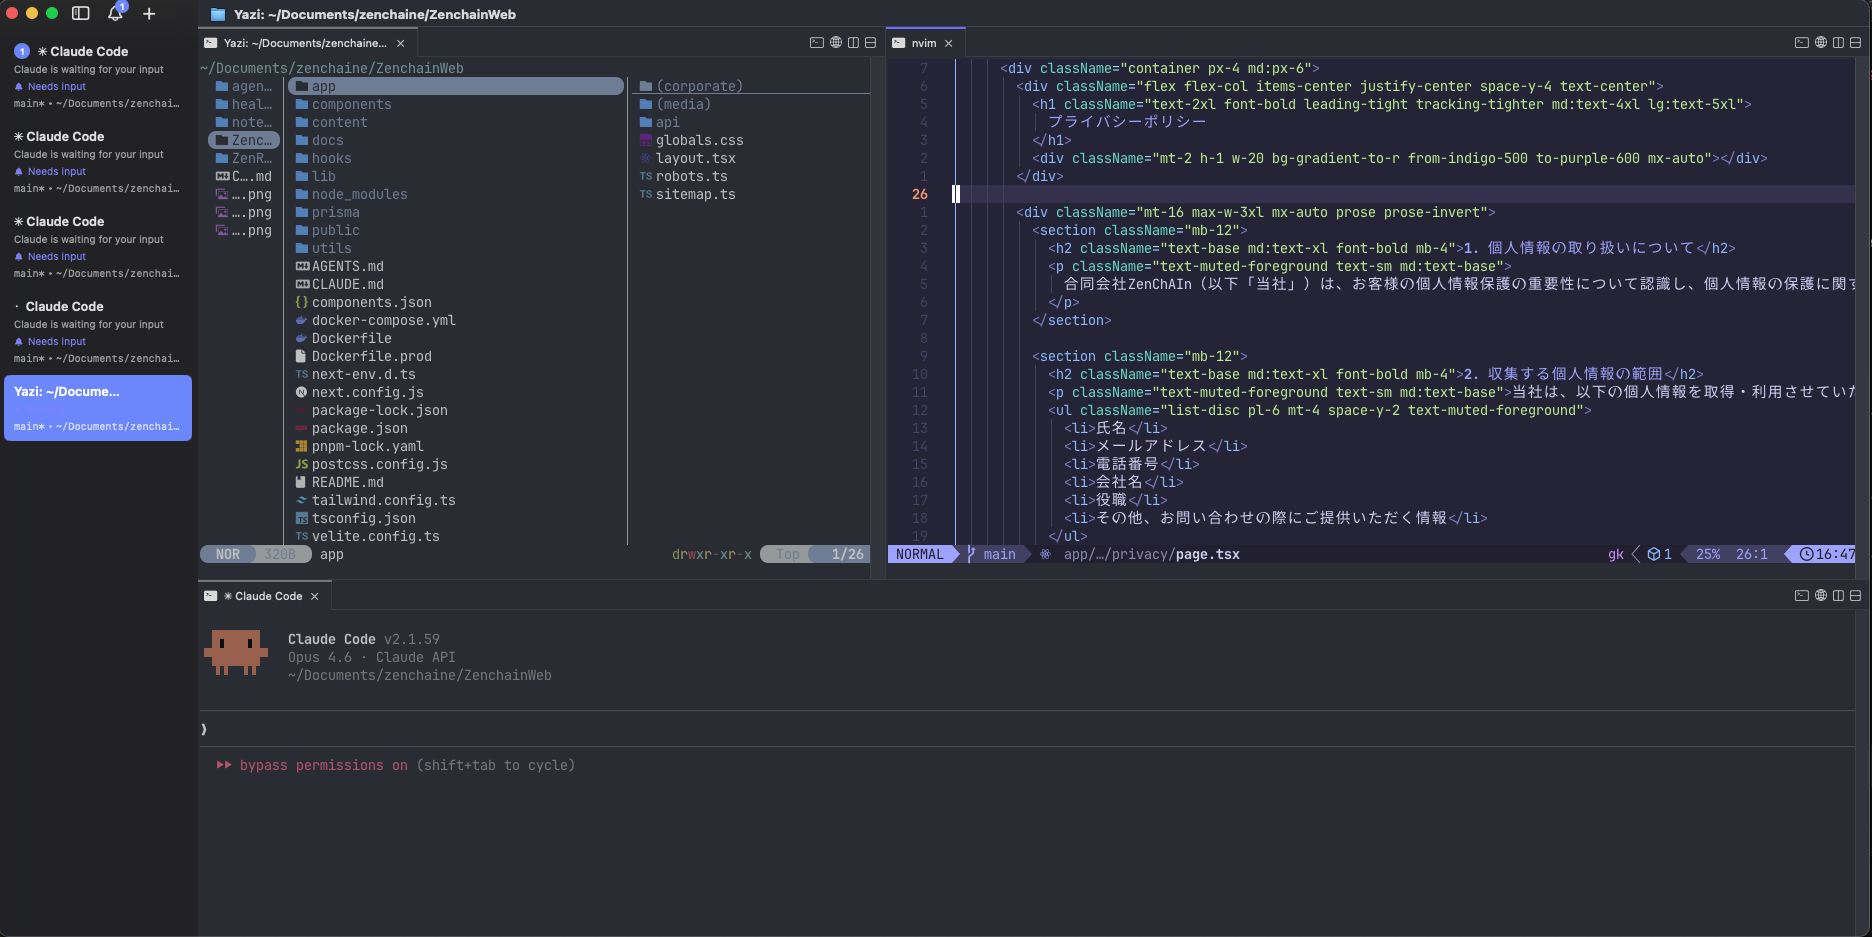
The layout we're building is this 3-pane IDE:
+-------------+------------------------------+
|             |                              |
|   Yazi      |   Neovim (LazyVim)           |
|   File      |   Code editing + LSP         |
|   Manager   |                              |
|             +------------------------------+
|             |                              |
|             |   Claude Code                |
|             |   AI coding                  |
|             |                              |
+-------------+------------------------------+
- Left pane: Yazi (file tree + preview)
- Top-right pane: Neovim (code editing, go-to-definition, completions)
- Bottom-right pane: Claude Code (AI coding)
lazygit is launched in a separate pane or from within Neovim as needed.
Part 1: Getting a File Tree with Yazi
Yazi is a terminal file manager written in Rust. It uses Vim-like keybindings and can preview code and images inline. Think of it as the terminal equivalent of VSCode's sidebar.
Installation
brew install yazi ffmpegthumbnailer poppler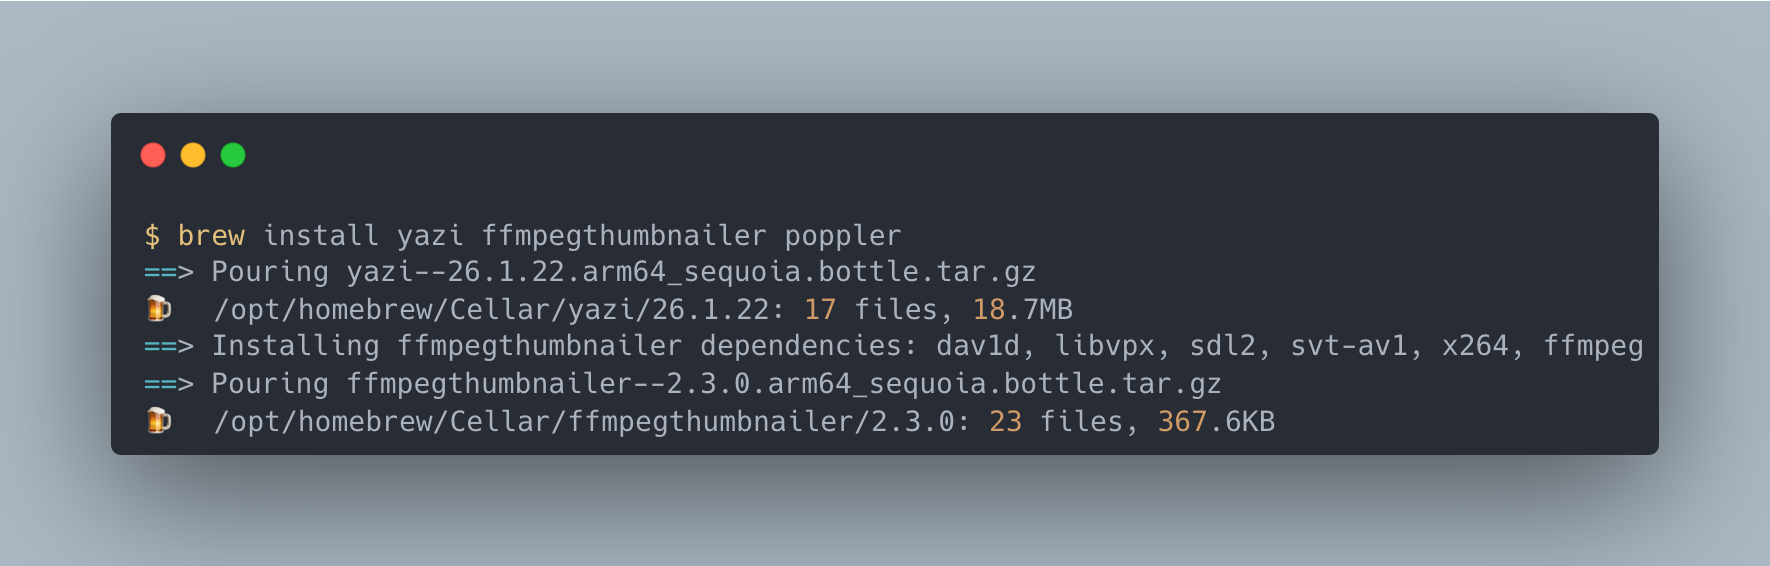
Run yazi in your project directory and you'll see a 3-column view: parent directory, current directory, and a preview pane.
Basic Navigation
If you've ever touched Vim, this will feel intuitive:
| Key | Action |
|---|---|
j / k | Move cursor |
l / Enter | Enter directory / open file |
h | Go to parent directory |
Space | Select / deselect |
/ | Search |
q | Quit |
Just hovering the cursor over a file shows a preview in the right column — syntax-highlighted code or image thumbnails. You can understand file contents without opening them, which speeds up project navigation considerably.
Customization
The config file lives at ~/.config/yazi/yazi.toml:
# ~/.config/yazi/yazi.toml
[manager]
show_hidden = true
sort_by = "natural"
sort_dir_first = true
Install the Catppuccin Mocha theme to unify the look with Neovim and lazygit:
ya pkg add yazi-rs/flavors:catppuccin-mochaPart 2: Serious Code Editing with Neovim
Why Neovim?
When Claude Code is writing your code, you'll often want to "jump to a definition" or "search the entire project." Neovim has native LSP support, giving you go-to-definition, find references, and code completion right inside the terminal.
Configuring Neovim from scratch is a project in itself, so we use LazyVim — a plugin preset that gives you a VSCode-like experience the moment you install it.
Installation
# Install Neovim
brew install neovim

# Clone the LazyVim starter
git clone https://github.com/LazyVim/starter ~/.config/nvim

# Remove git history (not needed)
rm -rf ~/.config/nvim/.git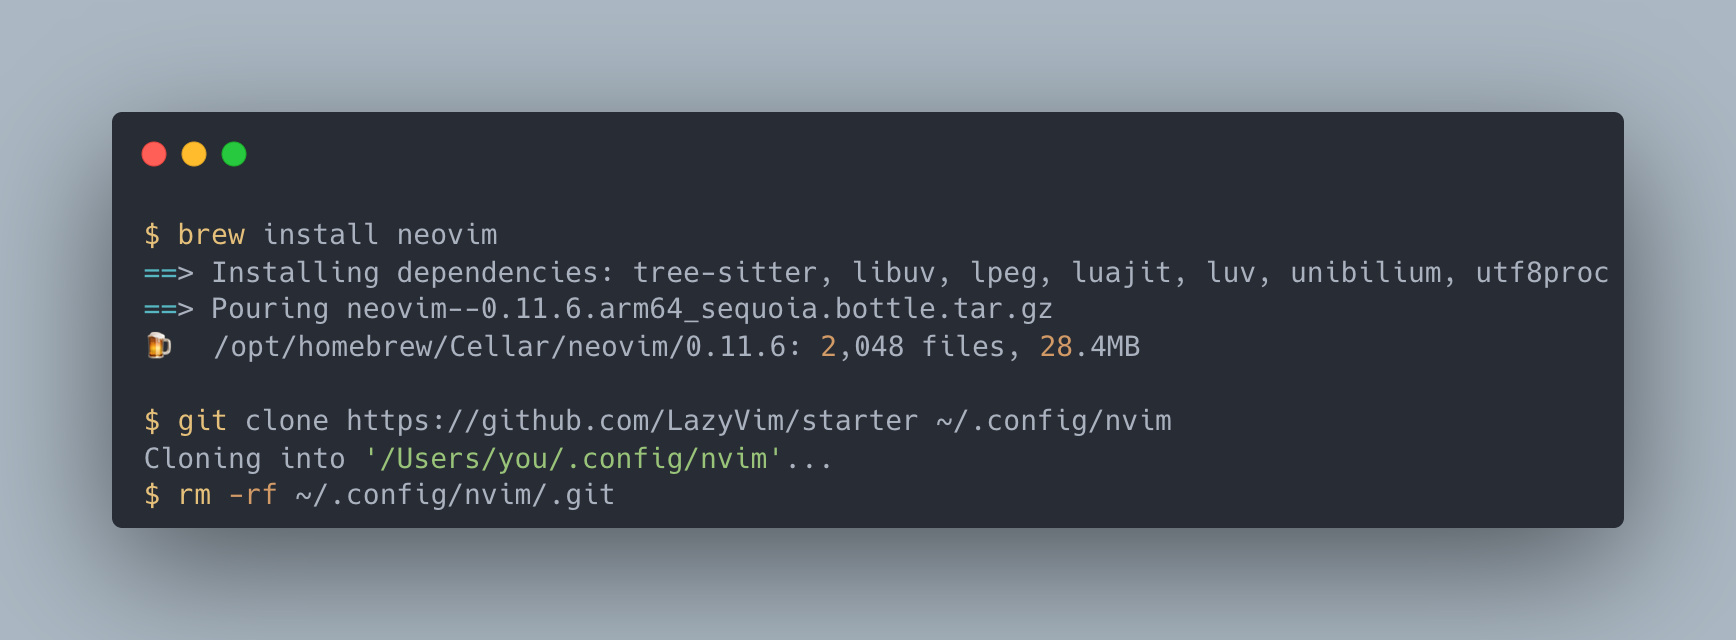
On first launch (nvim), plugins auto-install. Wait a minute or two, then press q to close and relaunch. You're ready to go.
VSCode User Cheat Sheet
The Space key is the leader key (equivalent to Cmd Shift P in VSCode). Press it to see the action menu.
| VSCode Action | LazyVim Key | Description |
|---|---|---|
Cmd P (Open file) | Space f f | Telescope file search |
Cmd Shift F (Search all) | Space s g | Telescope grep search |
F12 (Go to definition) | g d | Go to Definition |
Shift F12 (Find references) | g r | Go to References |
Ctrl Space (Completion) | Automatic | nvim-cmp triggers automatically |
Cmd Shift E (Sidebar) | Yazi pane | Use the cmux pane instead |
Cmd B (Toggle sidebar) | Ctrl H | Focus the Yazi pane |
| Toggle terminal | Ctrl J / Ctrl K | cmux pane navigation |
Start with just three: Space f f, g d, and Space s g. That's enough to be productive.
LSP Configuration
Enable language support via LazyVim Extras. You can also manage LSP servers with :Mason.
-- ~/.config/nvim/lua/plugins/extras.lua
return {
  { import = "lazyvim.plugins.extras.lang.typescript" },
  { import = "lazyvim.plugins.extras.lang.json" },
  { import = "lazyvim.plugins.extras.lang.python" },
  { import = "lazyvim.plugins.extras.lang.go" },
  { import = "lazyvim.plugins.extras.lang.rust" },
  { import = "lazyvim.plugins.extras.lang.tailwind" },
}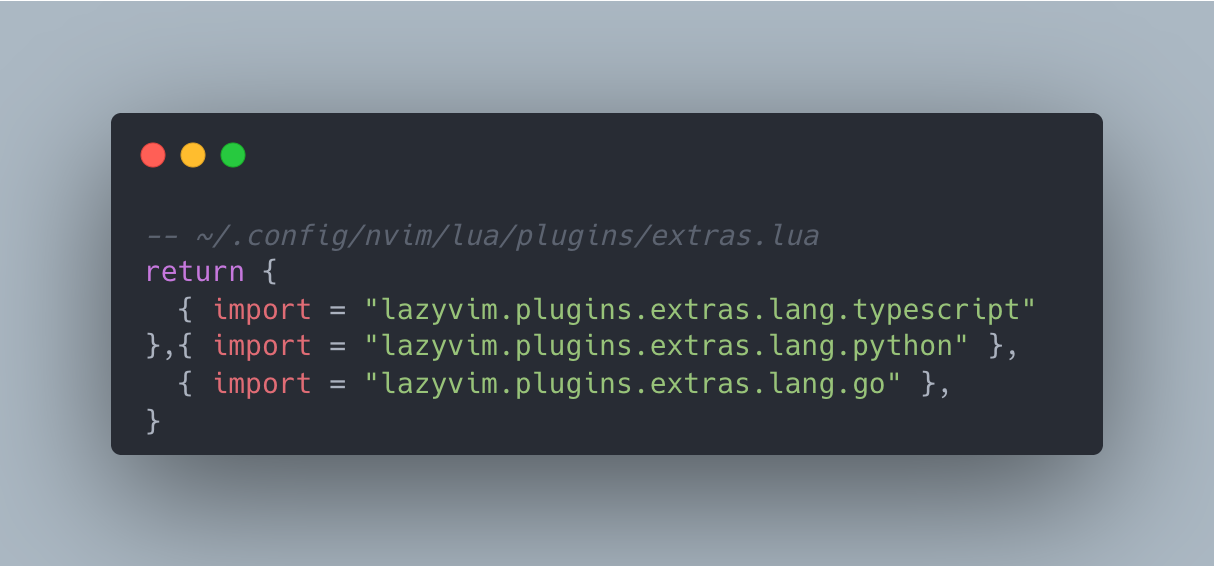
Save and relaunch — LSP servers for each language install automatically.
Part 3: Assembling the IDE Layout
Building the 3-Pane IDE in cmux
All the pieces are in place. Here's how to put them together:
Cmd Dto split right- Launch
yaziin the left pane - Focus the right pane and
Cmd Shift Dto split down - Launch
nvim .in the top-right pane - Launch
claudein the bottom-right pane - Drag the left pane border to about 25% width
Moving Between Panes
Pane navigation uses Vim-style keybindings:
| Shortcut | Destination |
|---|---|
Ctrl H | Left pane |
Ctrl J | Down pane |
Ctrl K | Up pane |
Ctrl L | Right pane |
These four shortcuts let you move freely between Yazi, Neovim, and Claude Code.
Practical Workflow
- Select a file in Yazi and press
Enterto open it - In Neovim, use
g dto jump to definitions andSpace s gto search - Tell Claude Code to "refactor this function"
- Claude modifies the file -> Neovim auto-reloads
- Commit with lazygit
File browsing, code editing, AI instructions, and commits — all in the same window.
yazi.nvim: Opening Yazi Inside Neovim (Advanced)
Beyond the cmux pane, you can also open Yazi as a floating window inside Neovim:
-- ~/.config/nvim/lua/plugins/yazi.lua
return {
  {
    "mikavilpas/yazi.nvim",
    event = "VeryLazy",
    keys = {
      { "<leader>e", "<cmd>Yazi<cr>", desc = "Open Yazi" },
    },
    opts = { open_for_directories = true },
  },
}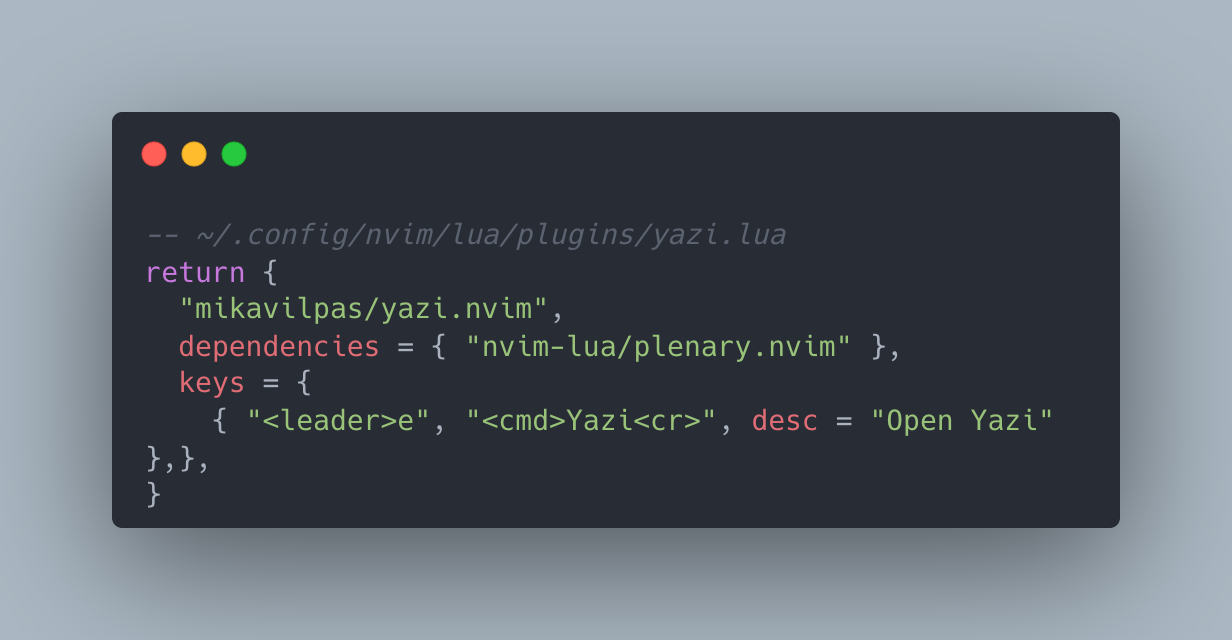
Press Space e to open Yazi, select a file, and it opens directly in a Neovim buffer.
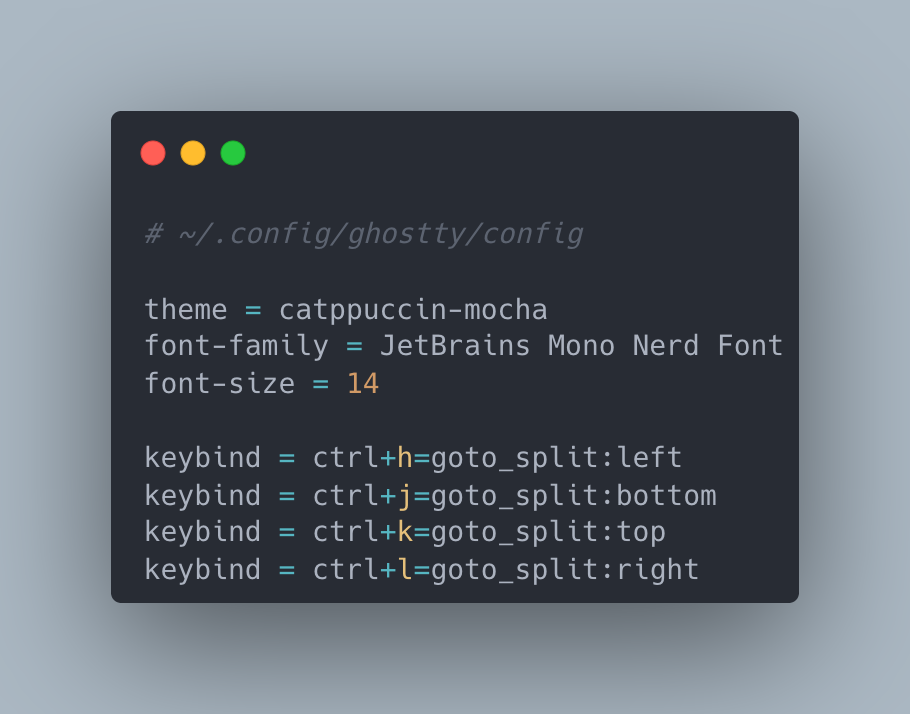
Unifying Themes — Catppuccin Mocha
Setting all tools to Catppuccin Mocha eliminates visual discontinuity between panes.
| Tool | How to Set |
|---|---|
| Ghostty | Add theme = catppuccin-mocha to ~/.config/ghostty/config |
| Neovim | Set catppuccin in colorscheme.lua |
| Yazi | ya pkg add yazi-rs/flavors:catppuccin-mocha (already done) |
| lazygit | Set lightTheme: false in ~/.config/lazygit/config.yml |
Here's the Neovim config:
-- ~/.config/nvim/lua/plugins/colorscheme.lua
return {
  {
    "catppuccin/nvim",
    name = "catppuccin",
    opts = { flavour = "mocha" },
  },
  {
    "LazyVim/LazyVim",
    opts = { colorscheme = "catppuccin" },
  },
}
Summary — Time to Close VSCode
Every major VSCode feature now has a terminal equivalent:
| VSCode Feature | Terminal IDE Equivalent |
|---|---|
| Sidebar (file tree) | Yazi |
| Editor | Neovim + LazyVim |
| Integrated terminal | cmux panes |
| Source control | lazygit |
| GitHub Copilot | Claude Code |
| Browser preview | cmux built-in browser |
| Extensions | Neovim plugins + Mason |
You don't have to abandon VSCode overnight. Start by browsing files in Yazi and pressing g d a few times in Neovim. Experience the speed of a keyboard-only workflow.
If Neovim's configuration feels overwhelming, Helix is a viable alternative that works out of the box with LSP support (though its keybindings are Kakoune-based rather than Vim-based).
In the upcoming Vol.3, we'll cover scripting the entire setup for one-command reproduction and per-project configuration management.