Getting Started with cmux — A Terminal Built for AI Coding Agents
Introduction
Claude Code, Codex, Gemini CLI — terminal-based AI coding agents have exploded in popularity since 2025. But running multiple agents in parallel quickly exposes a pain point: you lose track of which tab is doing what, and you miss the moment an agent stops and waits for your input.
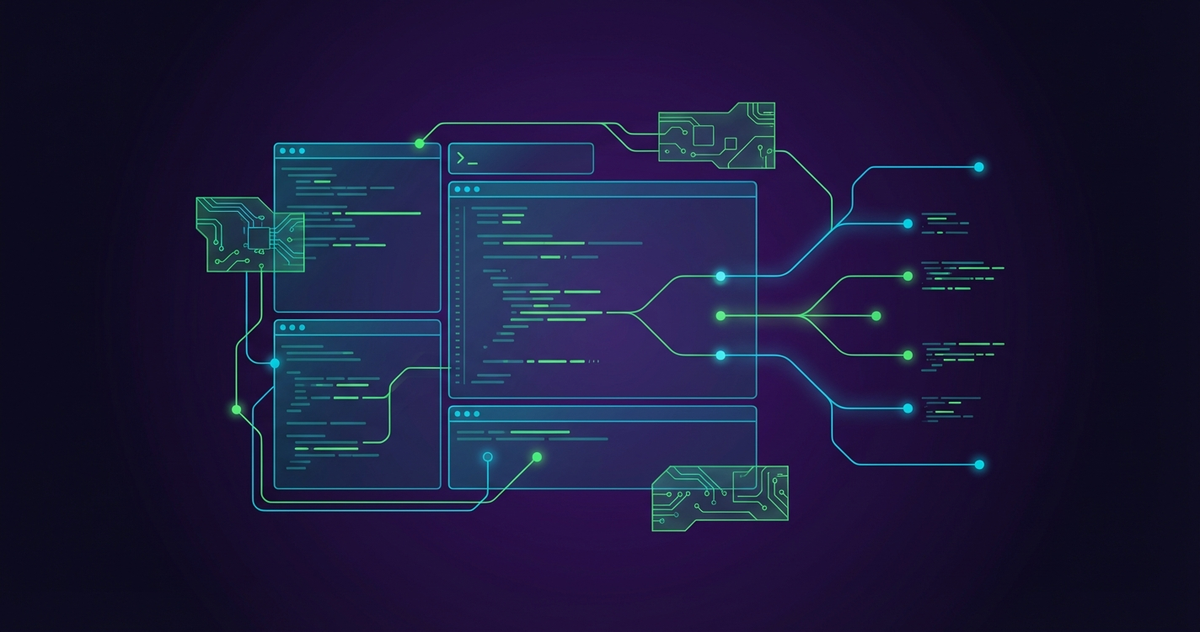
cmux was built to solve exactly this problem. It is a macOS-native terminal application powered by Ghostty's rendering engine (libghostty), with features purpose-built for working alongside AI agents.
This article walks you through installing cmux, learning the basics, and setting up practical multi-agent workflows.
Why Run Agents Outside Your IDE?
From 2024 to 2025, using AI coding agents through Cursor or VS Code extensions was the dominant workflow. Having everything inside the IDE feels intuitive — editor and agent in the same window.
But as you push agents harder, the limitations of IDE-embedded terminals become clear.
Resource consumption: Open two VS Code windows with Claude Code running, and RAM usage exceeds 8 GB with noticeable input lag. The same two projects in a Ghostty-based terminal stay under 500 MB. The gap widens with every additional project.
The multi-agent wall: IDEs are designed around "one project, one window." When you want three or five agents running in parallel, opening that many IDE windows is impractical. Terminals handle this effortlessly with lightweight pane splits.
Unix philosophy compatibility: Terminal-based agents compose with pipes and redirects. Workflows like git diff | claude "Review this diff" simply cannot happen inside a GUI IDE.
These factors drove interest in high-performance native terminals like Ghostty — and then cmux took it further by adding AI-agent-specific features on top.
What Is cmux?
cmux is a macOS-exclusive native terminal application developed by Manaflow AI. Built with Swift and AppKit, it is significantly lighter and faster than Electron-based alternatives.
Key features at a glance:
- GPU-accelerated rendering: Powered by Ghostty's libghostty
- Notification system: A blue ring appears on a pane when an agent is waiting for input, and the sidebar tab highlights accordingly
- Vertical tab sidebar: Displays Git branch, PR status, working directory, and listening ports at a glance
- Built-in browser: Split a scriptable browser alongside your terminal panes, with a programmable API
- Session restore: Window layout, working directories, and scrollback are restored on restart
- Free & open source: Licensed under AGPL-3.0, source code available on GitHub
cmux works with any command-line AI agent: Claude Code, Codex, OpenCode, Gemini CLI, Kiro, Aider, Goose, Amp, and more.
Installation
There are two ways to install cmux.
Option 1: DMG (Recommended)
Download cmux-macos.dmg from the official site or GitHub Releases, then drag it into your Applications folder. Sparkle handles automatic updates, so you never need to update manually.
Option 2: Homebrew
brew tap manaflow-ai/cmux
brew install --cask cmux
Update with brew upgrade --cask cmux. If macOS shows a developer verification dialog on first launch, click "Open."
Inheriting Ghostty Settings
If you already use Ghostty, cmux reads your ~/.config/ghostty/config settings (theme, font, colors) automatically. No extra configuration needed.
Learning the Basics
Once cmux is running, start with these essential keyboard shortcuts.
Workspace and Pane Management
| Action | Shortcut |
|---|---|
| New workspace | ⌘ N |
| Split right | ⌘ D |
| Split down | ⌘ ⇧ D |
| New surface | ⌘ T |
| Next surface | ⌃ Tab |
Browser Integration
| Action | Shortcut |
|---|---|
| Open browser | ⌘ ⇧ L |
| Show notification panel | ⌘ I |
| Jump to unread notification | ⌘ ⇧ U |
A Typical Workflow
For example, running Claude Code for parallel frontend and backend development:
⌘ Nto create a new workspace⌘ Dto split a pane to the right- Start
claudein the left pane and assign frontend tasks - Start another
claudesession in the right pane for backend tasks ⌘ ⇧ Dto split down and runnpm run devfor the dev server⌘ ⇧ Lto open the browser and preview atlocalhost:3000
When an agent needs your input, a blue ring appears on that pane and the sidebar tab highlights. Even with multiple agents running, you can instantly see which one is waiting for you.
Practical Usage with AI Agents
Running Multiple Agents in Parallel
The greatest strength of cmux is efficient management of multiple AI agents. The sidebar shows real-time information for each workspace:
- Git branch: The active branch for each pane
- PR status: Linked Pull Request number and state
- Listening ports: Dev server port numbers
- Latest notification: A preview of the most recent agent message
CLI and Socket API Capabilities
cmux provides a CLI and a Socket API (IPC via /tmp/cmux.sock). This goes beyond simple pane automation — it enables inter-agent coordination.
Use Case 1: Never Miss an Agent Completion (Notifications)
The most practical use is combining Claude Code's hooks feature with cmux notify. You can trigger the notification ring when an agent session finishes.
# Basic cmux notify syntax
cmux notify --title "Claude Code" --body "Task complete" --level info
Register this as a Stop hook in ~/.claude/settings.json, and you can hand off a long-running task, focus on other work, and get notified by the blue ring when it is done.
Use Case 2: Making Agents Talk to Each Other (Inter-Pane Communication)
The most interesting part of the Socket API is cmux send and cmux send-key, which inject text into other panes. This lets you coordinate agents across panes.
# Check your current position
cmux identify --json

# Send text to another pane
cmux send --surface surface:4 "Review the design of src/auth"

# Send Enter to execute
cmux send-key enter
For example, you could have Claude Code handle design and review in the left pane, while Codex handles implementation in the right pane. When Claude Code finalizes the design, use cmux send to inject instructions into the Codex pane — a multi-agent orchestration workflow built at the terminal level. This is still experimental territory, but it is gaining attention as a foundation for inter-agent coordination.
Use Case 3: One-Command Environment Setup
Combined with git worktree, you can automatically set up an isolated workspace per branch.
# Create a worktree for a branch
git worktree add -b my-branch ../repo-my-branch

# Create a new workspace and launch Claude Code in that branch
ws=$(cmux new-workspace 2>&1 | awk '{print $2}')
cmux send --workspace "$ws" "cd ../repo-my-branch && claude"
cmux send-key --workspace "$ws" Enter
By chaining cmux list-panes / cmux new-pane / cmux focus-pane into shell scripts, you can automate setups like "open a project and automatically create a 3-pane layout with Claude Code, a dev server, and a test runner."
The Built-In Browser
cmux includes a scriptable browser ported from Vercel Labs' agent-browser. Its capabilities include:
- Page snapshots (listing interactive elements)
- Click and input via reference IDs (Refs)
- Automated form filling
- JavaScript execution and evaluation
You might wonder how this differs from Playwright. The operations (click, type, execute JS) are similar, but the design philosophy is fundamentally different.
Playwright sends the entire accessibility tree to the agent. This provides rich information but can reach thousands of nodes on complex pages, consuming massive amounts of tokens. Microsoft's benchmarks showed a typical browser automation task consuming around 114,000 tokens with Playwright MCP.
cmux's browser (agent-browser approach) uses a "Snapshot + Refs" strategy. Instead of the full tree, it returns only actionable elements as a concise reference list. This reduces context consumption by up to 93%, processing the same task in roughly 27,000 tokens. It keeps your agent's context window lean, enabling stable performance during long development sessions.
That said, Playwright's strengths in cross-browser testing, headless execution, and CI/CD pipeline integration are not covered by cmux's browser. It is a lightweight tool specifically for agents to inspect and interact with UI during development.
| cmux Built-In Browser | Playwright | |
|---|---|---|
| Purpose | Dev preview and interaction | E2E testing and full browser automation |
| Token efficiency | High (93% reduction via Snapshot + Refs) | Low (full accessibility tree) |
| Setup | Built into cmux, no extra config | Requires separate MCP server or CLI |
| Cross-browser | Not supported (built-in browser only) | Chrome / Firefox / Safari |
| CI/CD integration | Not supported | Supported (headless execution) |
The practical approach is to use cmux's browser for quick UI checks during development, and Playwright for pre-production testing.
Running an agent in one pane, watching dev server output in another, and previewing in a browser right next to them — this all-in-one-screen workflow is where cmux truly shines.
Dealing with "No File Tree" Anxiety
If you are coming from VS Code or Cursor, the first thing you will notice is the absence of a directory tree in the sidebar. In an IDE, you click a file to peek at its contents. In a terminal-only setup, that is not an option.
In practice, several patterns have emerged to address this.
Pattern 1: Let the Agent Handle It
The simplest approach. You do not actually need to browse files yourself.
> List the files related to authentication in this project
> Show me the contents of src/auth/middleware.ts
> Find all callers of this function
Claude Code understands the entire codebase, so you can refer to "that file" in natural language without memorizing paths. When you are working with an AI agent, manual file browsing naturally decreases.
Pattern 2: Run an Editor in a Pane
A popular style among Neovim users. Use cmux's pane splitting:
- Left pane: Claude Code (agent)
- Right pane: Neovim (editor + file tree)
- Bottom pane: Dev server or test runner
Navigate between panes with Ctrl + h/j/k/l for a mouse-free workflow between agent and editor. With a Neovim file tree plugin (neo-tree, nvim-tree, etc.), you get the same file browsing experience as a VS Code sidebar.
Pattern 3: Use the IDE Only for Code Review
Let Claude Code in cmux handle all code editing and generation, and only open your IDE when it is time for PR review. View PR diffs in GitHub's diff viewer or VS Code/Cursor, leave comments or feedback, and relay them back to the agent. Daily development stays in cmux; the IDE becomes a "review tool."
Whichever pattern you choose, the common thread is that AI agents handle file operations on your behalf, so the need to manually browse files drops significantly.
Tips and Gotchas
Security Software Conflicts
This is an issue encountered firsthand. If security software like Microsoft Defender is running, shell commands in Ghostty or cmux may not work correctly.
Specifically, cd and ls may return Interrupted system call errors in certain home directory subdirectories (~/Documents, ~/Downloads — macOS protected directories), while working fine in user-created directories like ~/go. This makes root cause identification tricky.
# This fails
$ ls ~/Documents
ls: .: Interrupted system call

# This works fine
$ ls ~/go
bin  pkg  src
This happens because the PTY (pseudo-terminal) handling in libghostty conflicts with the security software's file access monitoring, causing system calls to be interrupted. Granting "Full Disk Access" to cmux (or Ghostty) in macOS, or adding the terminal app to the security software's exclusion list, resolves the issue.
Resolution:
- System Settings > Privacy & Security > Full Disk Access — add cmux
- Add cmux / Ghostty to your security software's scan exclusion list
- If the issue persists, temporarily disable real-time scanning to isolate the cause
This is especially common on company-managed Macs. If ls stops working in cmux, check for security software conflicts first.
Backspace Not Working Over SSH
When connecting to a remote server via SSH from cmux, pressing backspace may not erase characters on screen, instead appearing to add spaces (GitHub Issue #674).
This happens because cmux, as a Ghostty-based terminal, sets the TERM environment variable to xterm-ghostty. If the remote server lacks this terminfo entry, backspace echo handling (on-screen character deletion) does not work correctly.
Note that TUI applications like Claude Code handle their own key input and screen rendering, so this issue does not affect them. It only occurs in shell line editing (bash / zsh).
Resolution: Add the following to ~/.bashrc (or ~/.zshrc) on the remote server:
# cmux (Ghostty) SSH workaround: for environments without xterm-ghostty terminfo
case "$TERM" in
  xterm-ghostty*) export TERM=xterm-256color ;;
esac
This falls back TERM to xterm-256color when connecting via cmux, restoring normal key input behavior including backspace.
Session Restore Limitations
cmux restores window layout and working directories on restart, but live process state is not restored. This means Claude Code, tmux, and vim sessions are not preserved. Save your agent sessions before quitting cmux during important work.
Migration Path for Ghostty Users
For developers already using Ghostty, migrating to cmux is seamless. Your theme, font, and color settings carry over, so the transition is visually transparent.
macOS Only
cmux is currently macOS-exclusive. For similar workflows on Linux or Windows, consider alternatives like tmux with custom notification scripts.
Summary
cmux is a terminal built for the age of AI coding agents. It solves the problems traditional terminals struggle with — missed notifications, cumbersome multi-agent management, and constant context-switching between dev servers and browsers — all in a single application.
Installation is a one-liner with Homebrew, and it picks up your Ghostty settings automatically, making the barrier to entry minimal. If you use Claude Code or Codex daily, it is worth a try.
At ZenChAIne, we are actively working on optimizing development workflows powered by AI agents. Improving the terminal environment is the first step.