Getting Things Done with cmux Alone — Pane Splitting, Built-in Browser, and lazygit
Introduction
In the previous article, we covered how to install and use cmux. You know how to run Claude Code inside cmux now. But you probably still find yourself switching back to VS Code to check file diffs or preview your UI.
This article shows you how to handle 80% of your daily development using cmux's built-in features plus one additional tool: lazygit.
We'll cover three things: cmux pane splitting, the built-in browser, and lazygit. In the upcoming Vol.2, we'll add Yazi (a file manager) and Neovim to turn the terminal into a full IDE replacement.
The Goal: Building This Layout
The end state we're aiming for is this 4-pane setup:
+----------------------+----------------------+
|                      |                      |
|    Claude Code       |    Dev Server         |
|    (main workspace)  |    (npm run dev)      |
|                      |                      |
+----------------------+----------------------+
|                      |                      |
|    Browser           |    Codex / lazygit    |
|    (localhost check) |    (diffs & commits)  |
|                      |                      |
+----------------------+----------------------+
lazygit is the only thing that requires a brew install. Everything else is built into cmux.
Prep Work: Install a Nerd Font
Terminal tools like lazygit and Yazi (which we'll add later) use Nerd Fonts for icon display. Nerd Fonts are programming fonts patched with icon glyphs — file type icons, Git status markers, and more. Without them, you'll see tofu squares instead of icons.
brew install --cask font-jetbrains-mono-nerd-font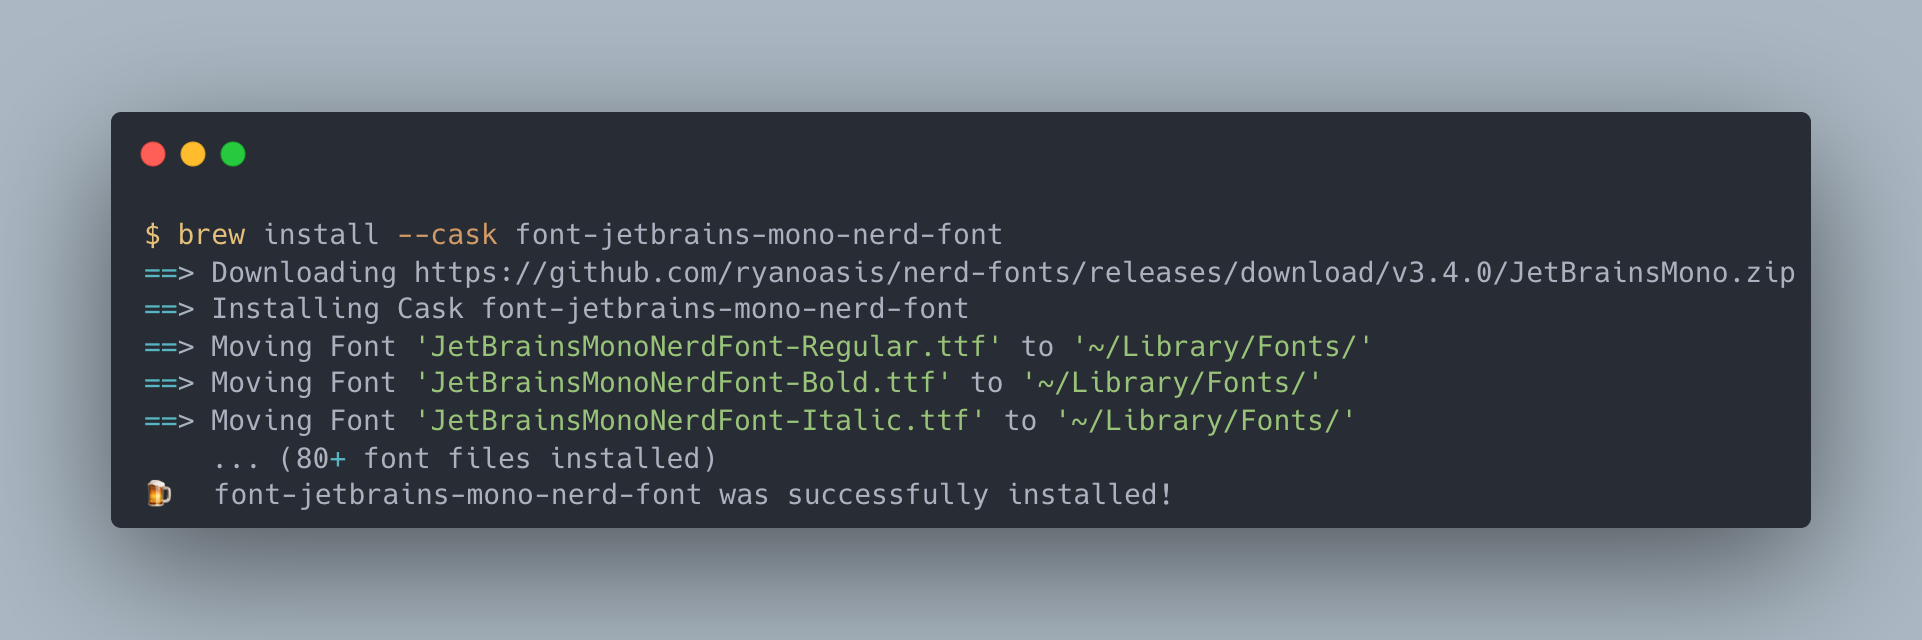
After installing, set the font in your cmux (Ghostty) config file:
# ~/.config/ghostty/config
font-family = JetBrains Mono Nerd Font
font-size = 14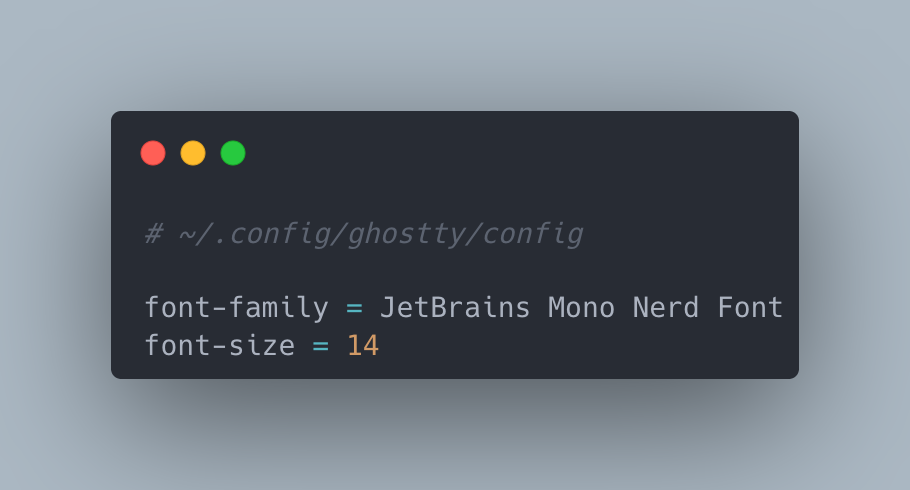
Restart cmux for the changes to take effect. If the font is applied correctly, you'll see file-type icons in ls output (when using eza or lsd).
Mastering Pane Split Patterns
Pane splitting in cmux is a single keyboard shortcut. Here are three patterns for different use cases.
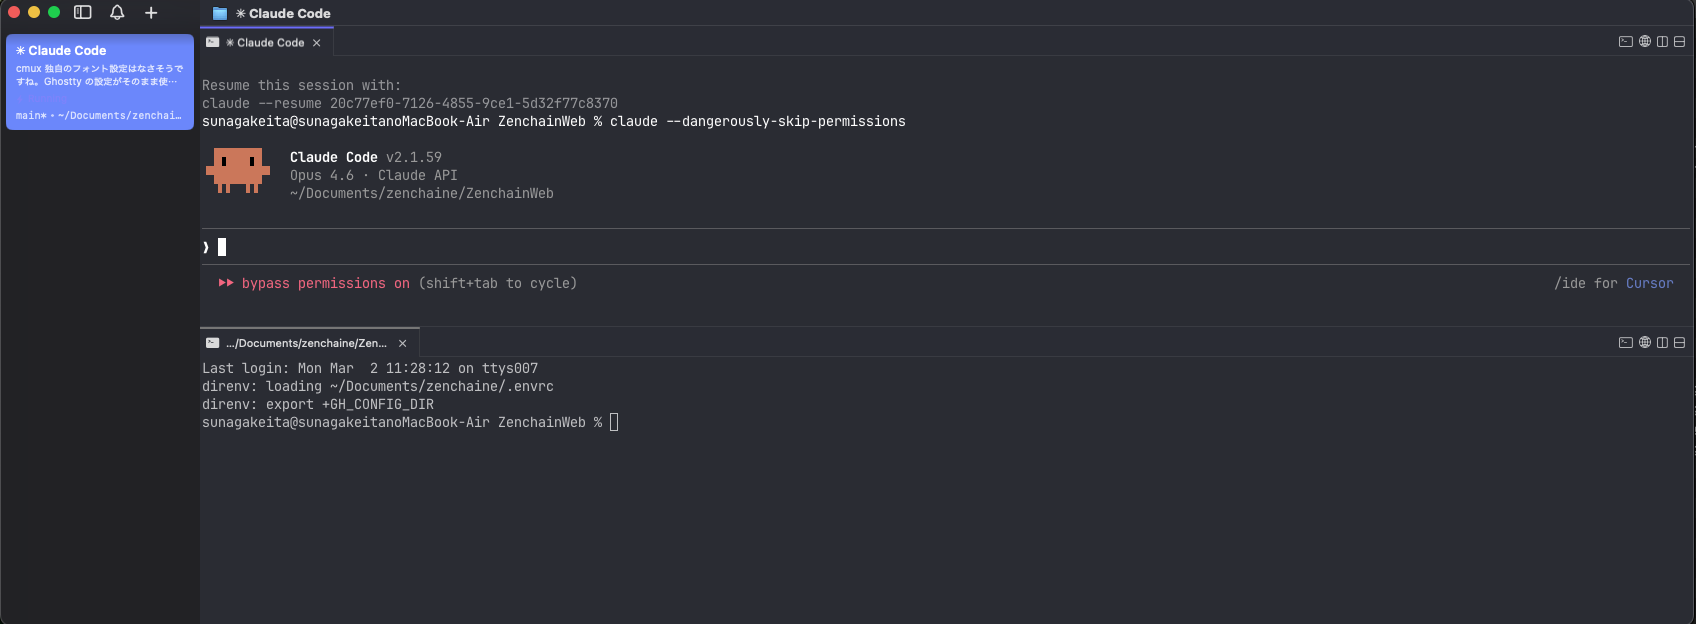
Pattern 1: Claude Code + Shell (The Basics)
The simplest setup. Run Claude Code on the left while executing manual commands in the shell on the right.
| Action | Shortcut |
|---|---|
| Split right | Cmd D |
| Split down | Cmd Shift D |
| Move between panes | Ctrl H / J / K / L |
| Close pane | Cmd W |
Cmd D to split ->

+------------------+------------------+
|                  |                  |
|  Claude Code     |  Shell           |
|                  |  (manual cmds)   |
|                  |                  |
+------------------+------------------+
Pattern 2: Claude Code + Browser
An essential layout for frontend development. Cmd Shift L opens the built-in browser.
| Action | Shortcut |
|---|---|
| Open browser | Cmd Shift L |
| Focus URL bar | Cmd L |
| Reload | Cmd R |
Cmd Shift L to open browser ->

+------------------+------------------+
|                  |                  |
|  Claude Code     |  Browser         |
|                  |  (localhost:3000) |
|                  |                  |
+------------------+------------------+
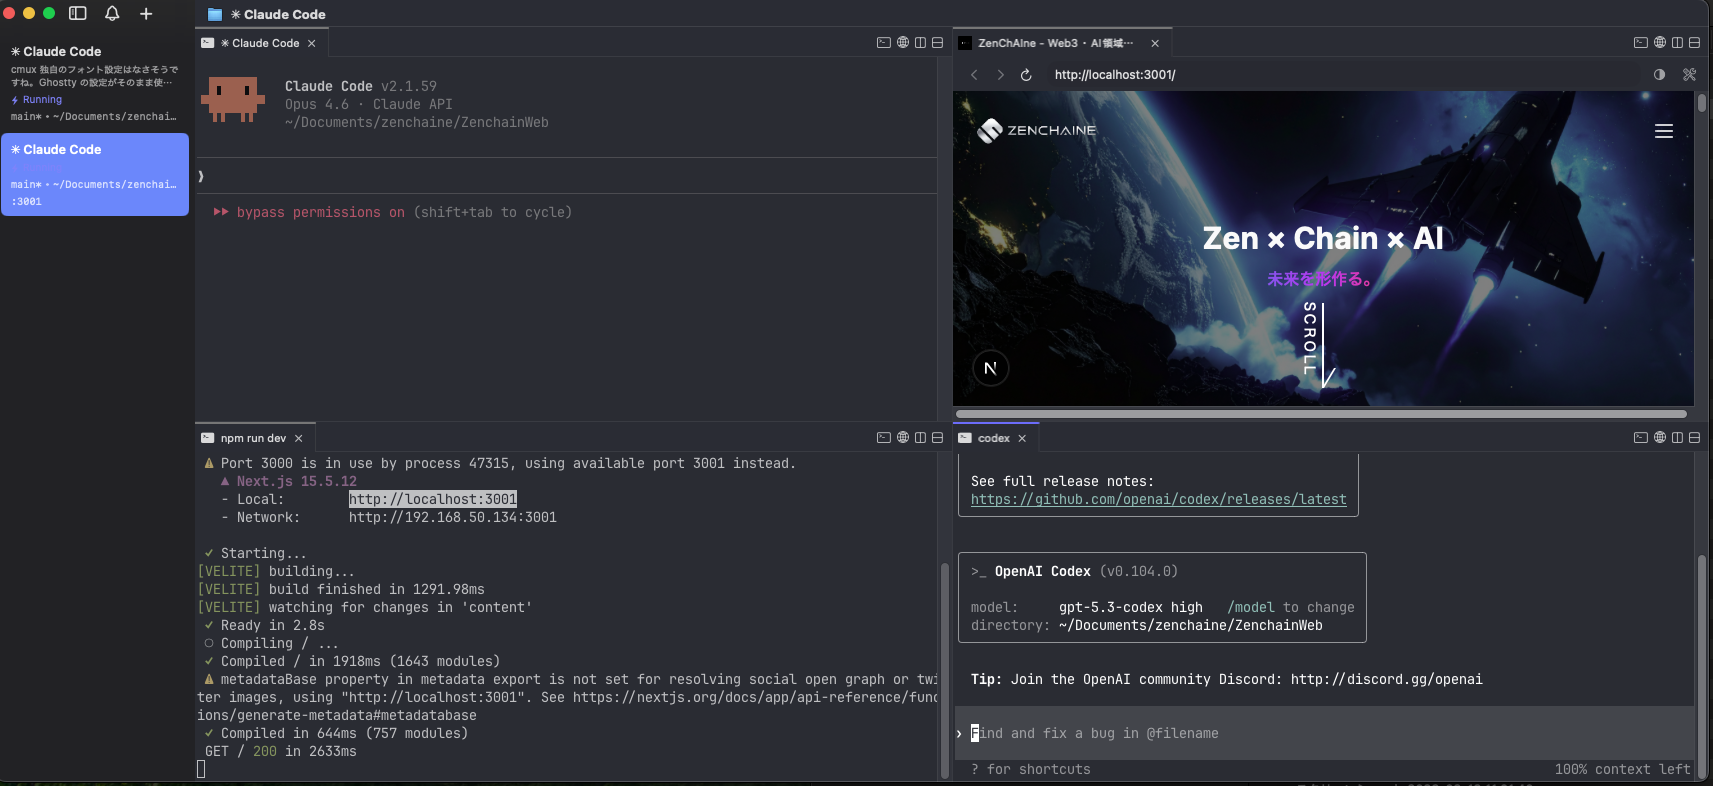
Pattern 3: Full 4-Pane Layout
The complete setup from the beginning of this article. Here's how to build it:
Cmd Dto split right -> runnpm run devin the right pane- Focus the left pane,
Cmd Shift Dto split down ->Cmd Shift Lto open the browser - Focus the right pane,
Cmd Shift Dto split down -> launchlazygit
You can drag pane borders with the mouse to adjust sizes. We recommend giving Claude Code (top-left) the most space and keeping the other three panes compact.
Move between panes with Ctrl H / J / K / L (Vim-style directional keys) — no need to reach for the mouse. Once you get used to it, it feels faster than switching panels in VS Code.
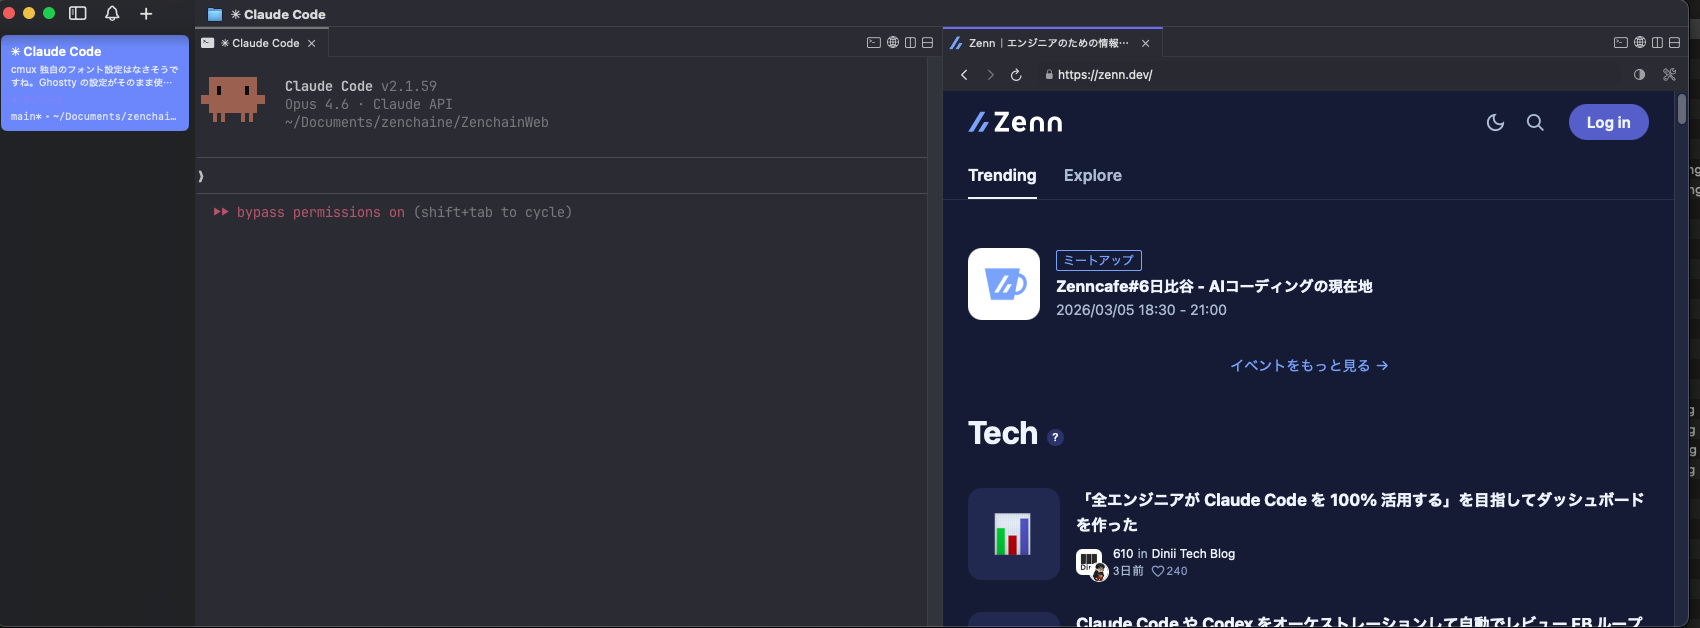
Using the Built-in Browser
The cmux built-in browser doesn't have full Chrome DevTools. But it's more than enough for checking your UI during development.
What it can do:
- Preview dev servers like
localhost:3000 - Direct URL input and page navigation
- Reload with
Cmd R - Browse documentation and references (Zenn, GitHub, etc.)
The key benefit is zero context switching. Have Claude Code write your code, then check the result in the browser pane right next to it. No Cmd Tab to another app — your flow stays unbroken.
For example, after telling Claude Code to "change the header design," you just hit Cmd R in the adjacent browser pane to see the result. Eliminating the "switch to Chrome, find the tab, reload..." sequence is more comfortable than you'd expect.
When you need full DevTools (network tab, performance profiling, etc.), use regular Chrome. The built-in browser is strictly a lightweight "quick look" tool.
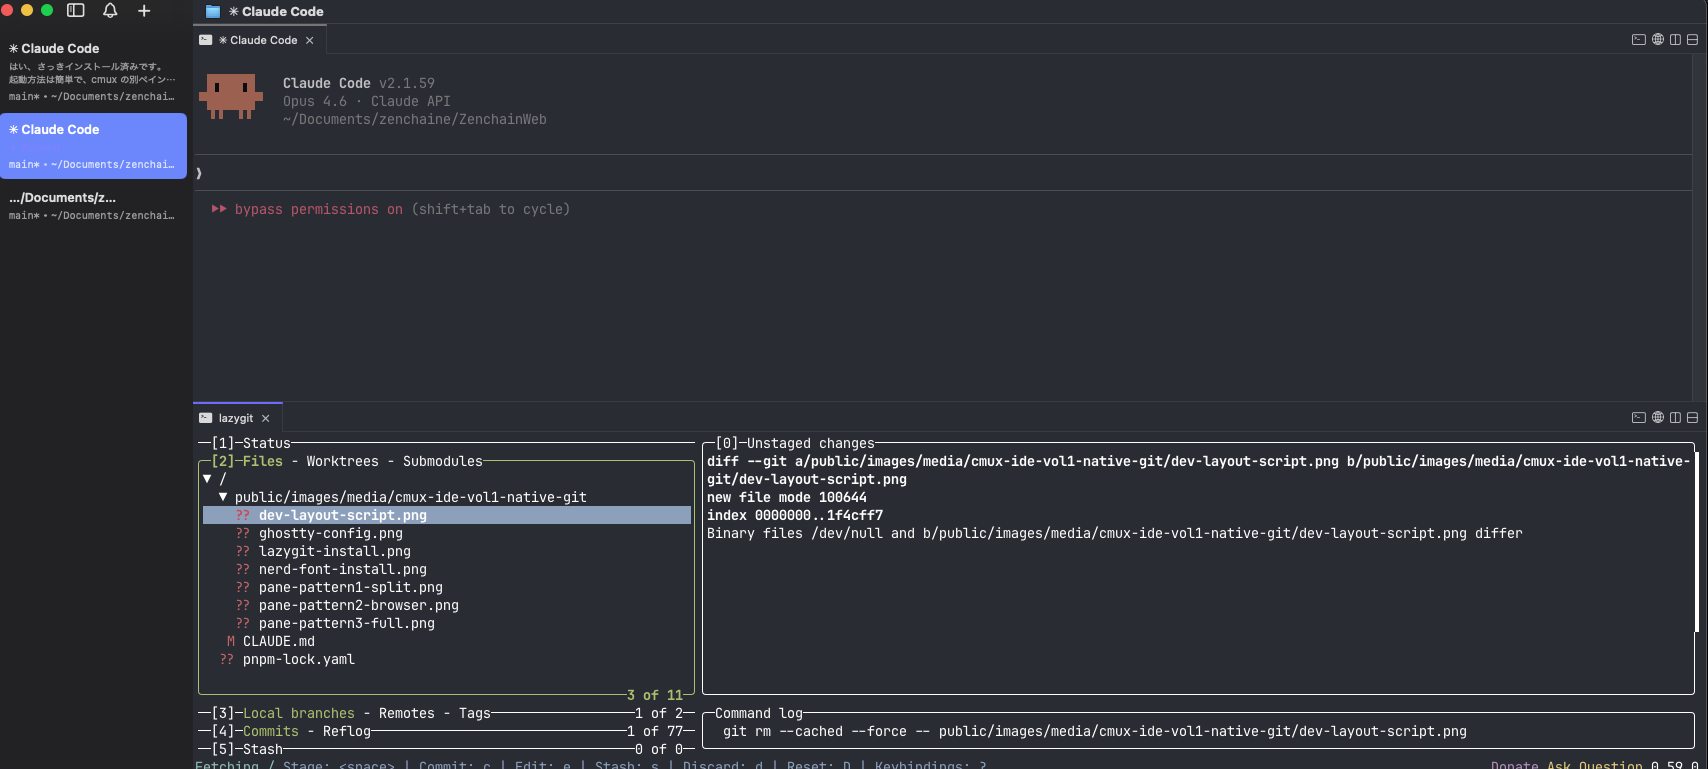
Adding lazygit — Visualizing Git Operations
Claude Code can run git add and git commit on its own. But there are plenty of times when you want to review what changed with your own eyes before committing.
lazygit is a TUI (terminal UI) tool for Git. It shows a file list on the left and a real-time diff of the selected file on the right. Staging, committing, and pushing all happen via keyboard.
It's a similar experience to VS Code's Git tab or GitHub Desktop, but runs inside the terminal so it fits right into a cmux pane. It's the ideal tool for building the habit of reviewing AI-written code before every commit.
Installation
brew install lazygit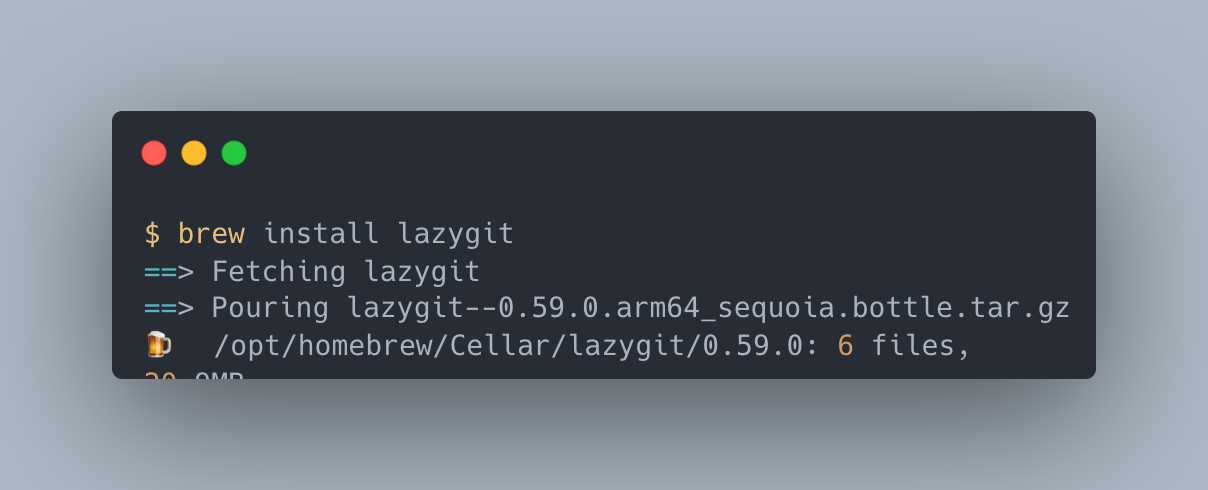
Key Bindings
| Key | Action |
|---|---|
Tab | Switch panels (Files / Branches / Commits / Stash) |
Space | Stage / unstage a file |
c | Enter commit message |
Enter | View file diff |
p | Pull |
P | Push |
q | Quit |
Practical Flow: Claude Code -> lazygit
Your daily workflow becomes this cycle:
- Tell Claude Code to implement a feature or fix a bug
- The agent modifies the code
- Open lazygit in the adjacent pane and review the changes
- If everything looks good:
Spaceto stage ->cto commit ->Pto push - If something needs fixing, give Claude Code additional instructions
The big win here is that it naturally builds the habit of having a human review code before every commit. AI agents are powerful, but unintended changes can slip in. Even a quick glance at the diff view in lazygit helps catch problems early.
Note that lazygit, once launched, automatically updates its diff view whenever Claude Code modifies files. No need to manually run git diff.
Automating Your Workflow — cmux CLI
Manually splitting panes every time gets tedious. cmux provides a CLI, so you can automate layout construction with a shell script:
#!/bin/bash
# dev-layout.sh — One-command 4-pane dev environment

# Split right and start dev server
cmux new-pane --direction right
cmux send "npm run dev"
cmux send-key Enter

# Go back to left pane, split down, open browser
cmux focus-pane --direction left
cmux new-pane --direction down

# Move to top-right pane, split down, launch lazygit
cmux focus-pane --direction right
cmux focus-pane --direction up
cmux new-pane --direction down
cmux send "lazygit"
cmux send-key Enter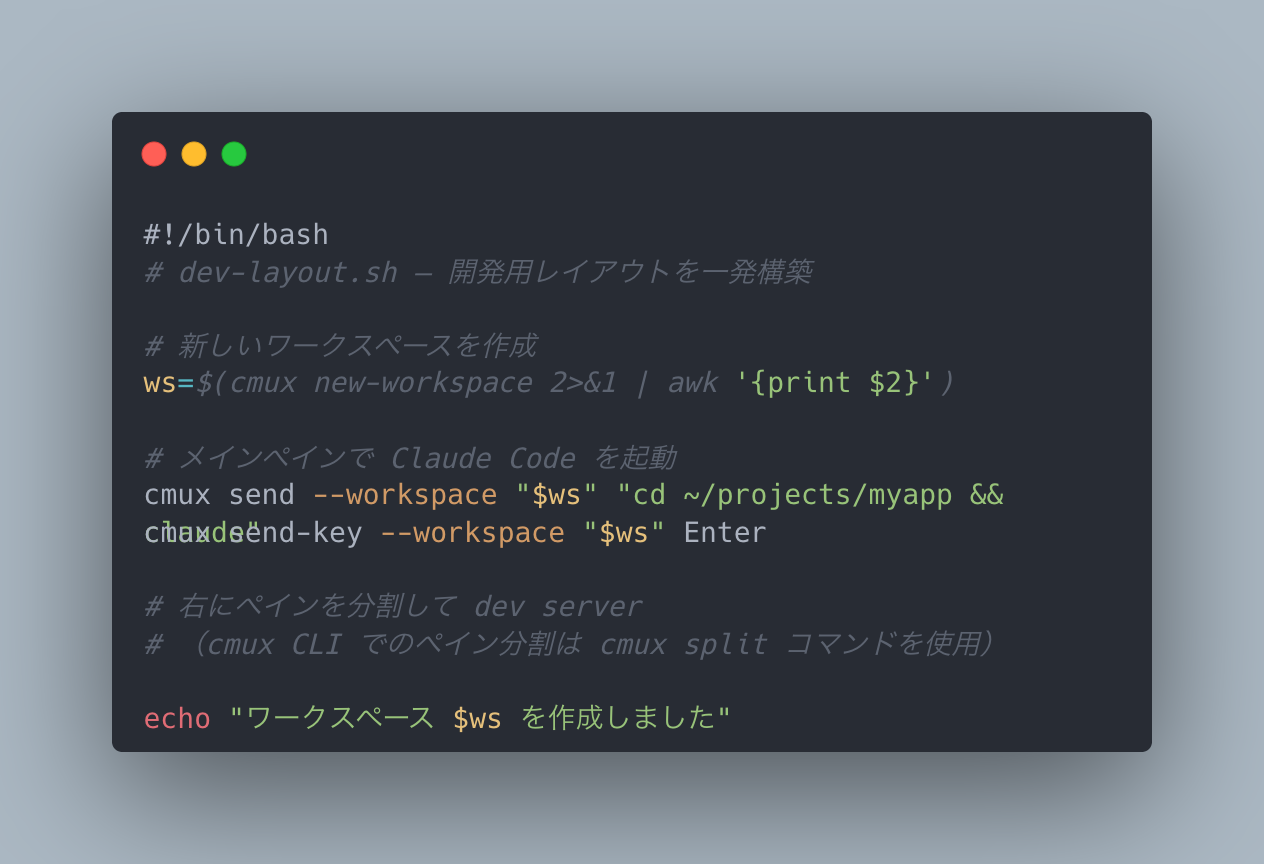
Drop this script in your project root and run ./dev-layout.sh to spin up your entire dev environment. Keep project-specific scripts handy and your morning startup becomes a single command.
Customize the script for your project. For Docker Compose projects, swap in docker-compose up. For test-driven development, allocate a pane for npm run test:watch.
Troubleshooting
Pane sizes are off
Drag pane borders with the mouse to resize freely. Adjust ratios to suit your display resolution.
Security software conflicts
Security software like Microsoft Defender can cause Interrupted system call errors on shell commands. See the "Tips and Caveats" section in the previous article for details.
Built-in browser won't display
If your cmux version is outdated, the browser feature may not work properly. Run brew upgrade --cask cmux or download the latest version from the official site.
Summary & What's Next
Here's what we covered:
- cmux pane splitting — Build any layout with keyboard shortcuts alone
- Built-in browser — Check your UI without context switching
- lazygit — Visualize Git diffs and commit entirely from the keyboard
- cmux CLI — Automate layout construction with scripts
The daily development cycle is: "Claude Code writes code -> review diffs in lazygit -> check behavior in the browser." Having all three in the same window makes a real difference in productivity.
That said, this setup doesn't cover everything. Browsing the file tree, manual code editing, complex file operations — for these, you might still be reaching for VS Code.
In the next Vol.2, we'll add the file manager Yazi and the editor Neovim to build a terminal-only setup that fully replaces an IDE.